

Hey Puzzle Friends!
A month or so ago, I wrote about the design process for Party in the Back puzzles. However, today, I thought I'd zoom out even further to how this line of puzzles came about in the first place! It'll be rather short, but it's a fun behind-the-scenes tidbit.
The Design Goals
When embarking on something new, it's often really helpful to have some goals that serve as constraints on what you're designing. In the case of Party in the Back, there were two main goals:
- Higher piece count than the Bumfuzzled series.
- Small footprint.
- Maintain my flat-packing method.
Why a Higher Piece Count?
Easy! You asked for it! I had a good amount of customer feedback that you all loved the design of the Bumfuzzled series, but would also love to see something more robust. I think we all love snacking, but some wanted puzzle feast option rather than a puzzle snack.
My first thought was just that I'd make bigger scenes. So, with this whale puzzle, the detail would just get more granular as I turn 100-150 piece designs into 400-450 piece designs. However, there was a problem with that:
Why A Small Footprint?
One word: Shipping. Shipping around large objects is expensive, for both you and me. It's expensive freighting large objects overseas, and it's expensive to ship them to you. Therefore, I wanted to maintain a maximum package dimension.
I'm working from a coffee shop right now, so I don't have a puzzle next to me, but I believe my outer package dimensions for Bumfuzzled are 11" x 11". Basically, under 12", which is often a tipping point for shipping rates.
Why Maintain Flat-Packing?
Flat-packing puzzles has a bunch of benefits:
1) Maintaining the small footprint mentioned above. It's much more efficient than a box that's half full of air! It mitigates a lot of shipping and storage issues.
2) It allows me to design much more intricately. If you've ever seen the boxing process for mass-manufactured products, it's surprisingly rough. A lot of my thin, spindly, pieces simply wouldn't survive being boxed. While they stand up just fine to normal puzzling use, they're just too prone to breaking if I don't flat pack.
3) It protects the puzzles well. Related to #2, there's virtually no way pieces can break during storage or transit. But, even further, if you've ever done a vintage wooden puzzle, you've seen a lot of worn pieces, even if the puzzle wasn't played with much. A puzzle box merely being moved jostles the pieces and causes them to wear on each other. With our puzzles, if we're even around in 100 years, the puzzles should still look as new due to the flat-pack storage.
Putting It All Together!
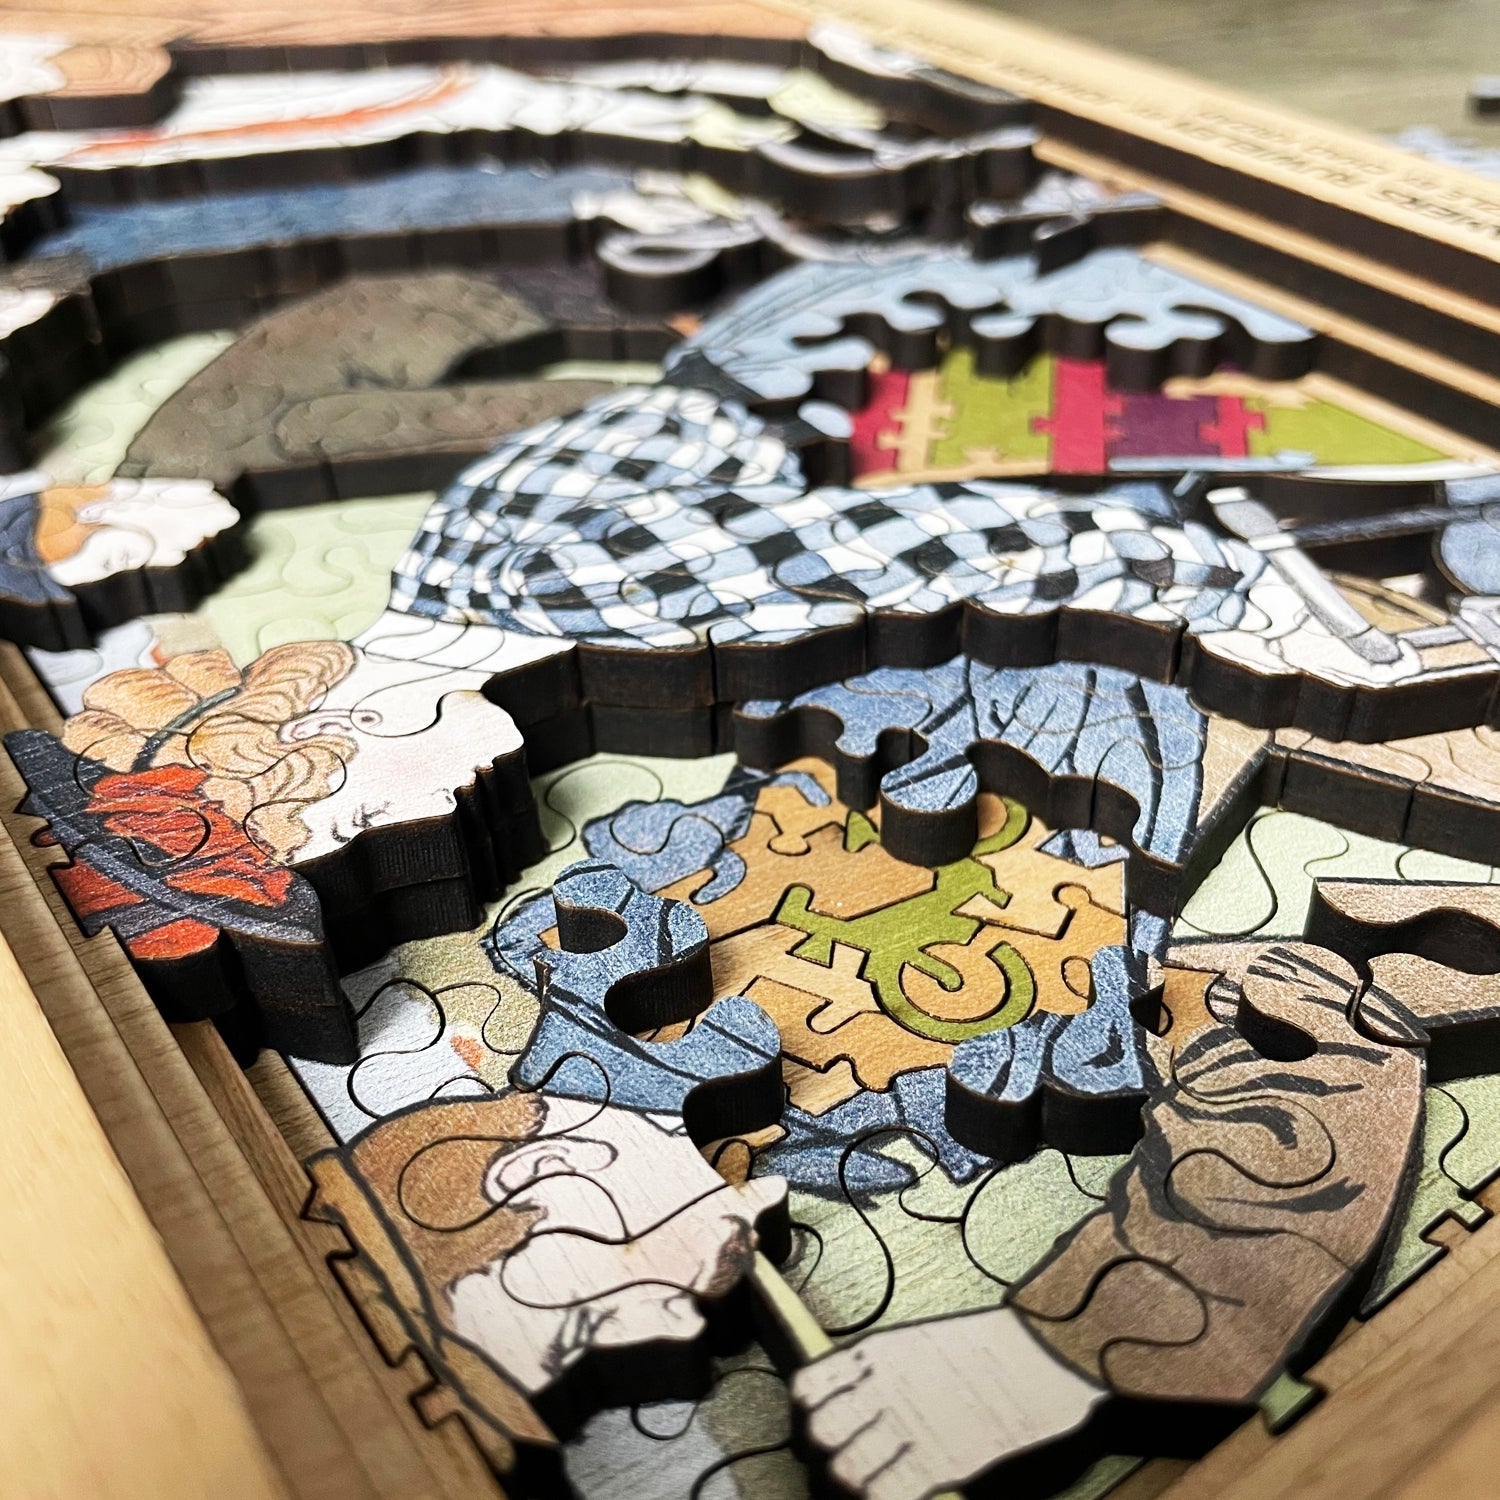
So, if I wanted more pieces, a small footprint, and flat-packing, my only option was to go up rather than out! Layers was the way to go.
I initially called the product "Puzzle Lasagna", and played with a few concepts, with the first being all-original artwork on my end; basically, a 3D Bumfuzzled, but they were rather busy. I ended up settling on the current iteration, as I loved the avant-garde approach of inserting wild, modern art into vintage or antique works of art. It's just totally dumb and fun in the best of ways.
It just felt like such a surprising and unexpected direction, and I loved the double-punch when folks first see the puzzles:
Phase 1, seeing the finished 3D effect: "Wow, this is gorgeous!"
Phase 2, as they disassemble the puzzle: "WHAT!?! What the heck is this thing!?! This is crazy!!!"
With this approach, the "Business Up Front, Party in the Back" effect was just too obvious to ignore, so the pivot from "Puzzle Lasagna" was made, and here we are!
Love and blessings,
Chad
P.S. As of this writing, we're coming up on ONE DAY remaining in our current crowdfunding campaign for the latest Party in the Back puzzle. I rarely discount product, so this is the chance to get a great discount on this series!
2 comments
I’m currently working on my third one and I LOVELOVELOVE these! The best part is the whimsy for no reason in areas that will be covered by the next layer. I don’t use the photos so it’s anyone’s guess which pieces go with which layer. It’s such a fun challenge and feels like many puzzles in one.
These multi-layered puzzles fascinate me. I just bought one Befuzzled puzzle so far but one of these will be next. It’s a bit out of my price range, but I am going to do it. I just can’t figure out which one either.