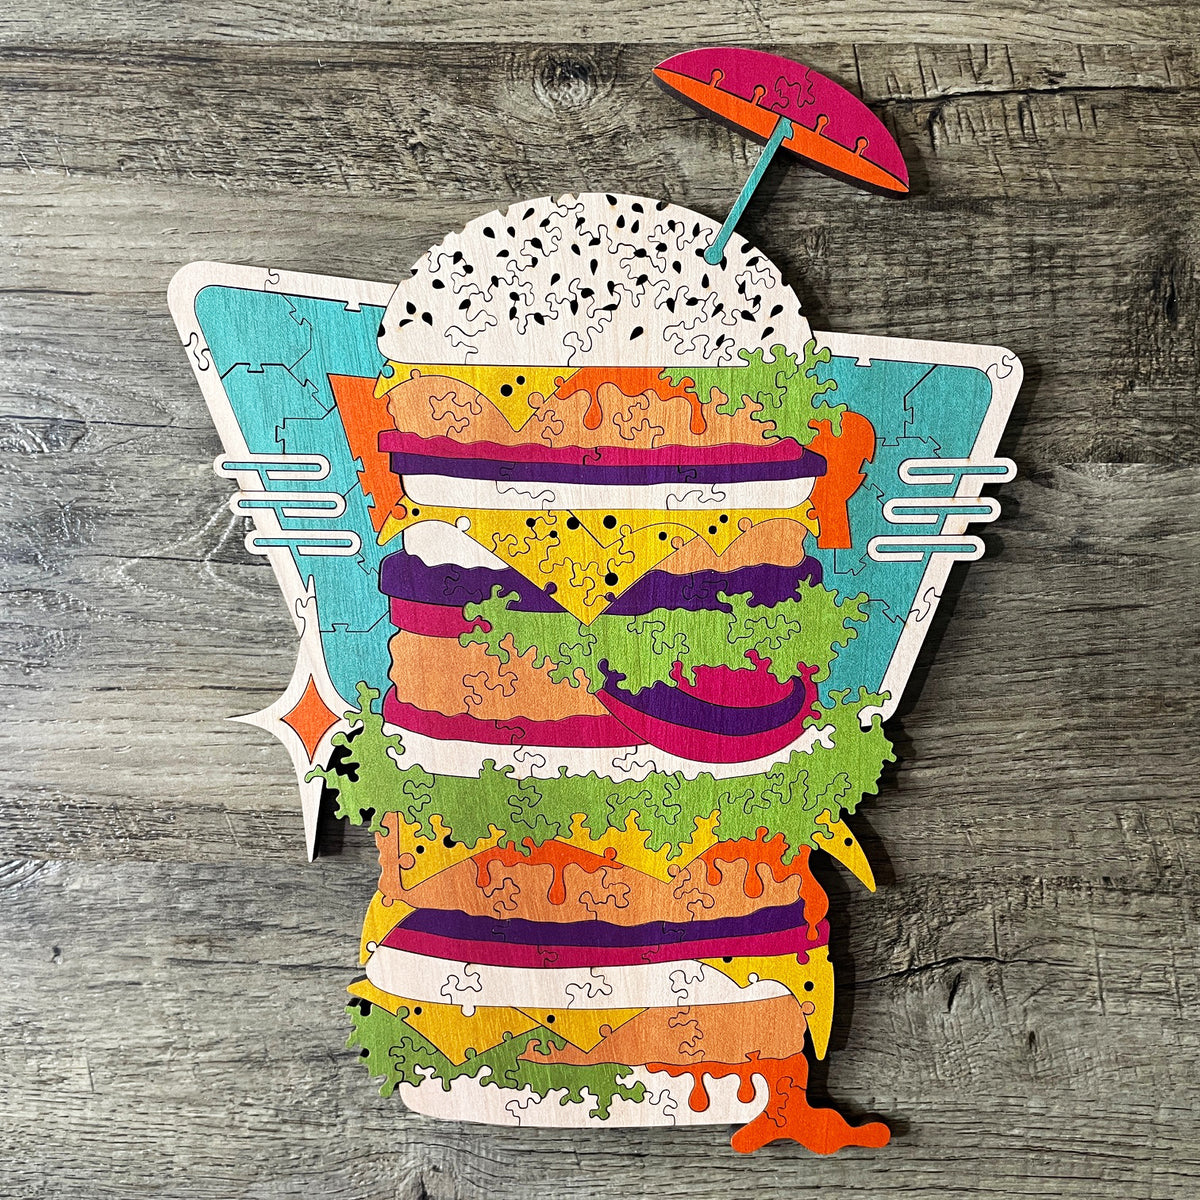
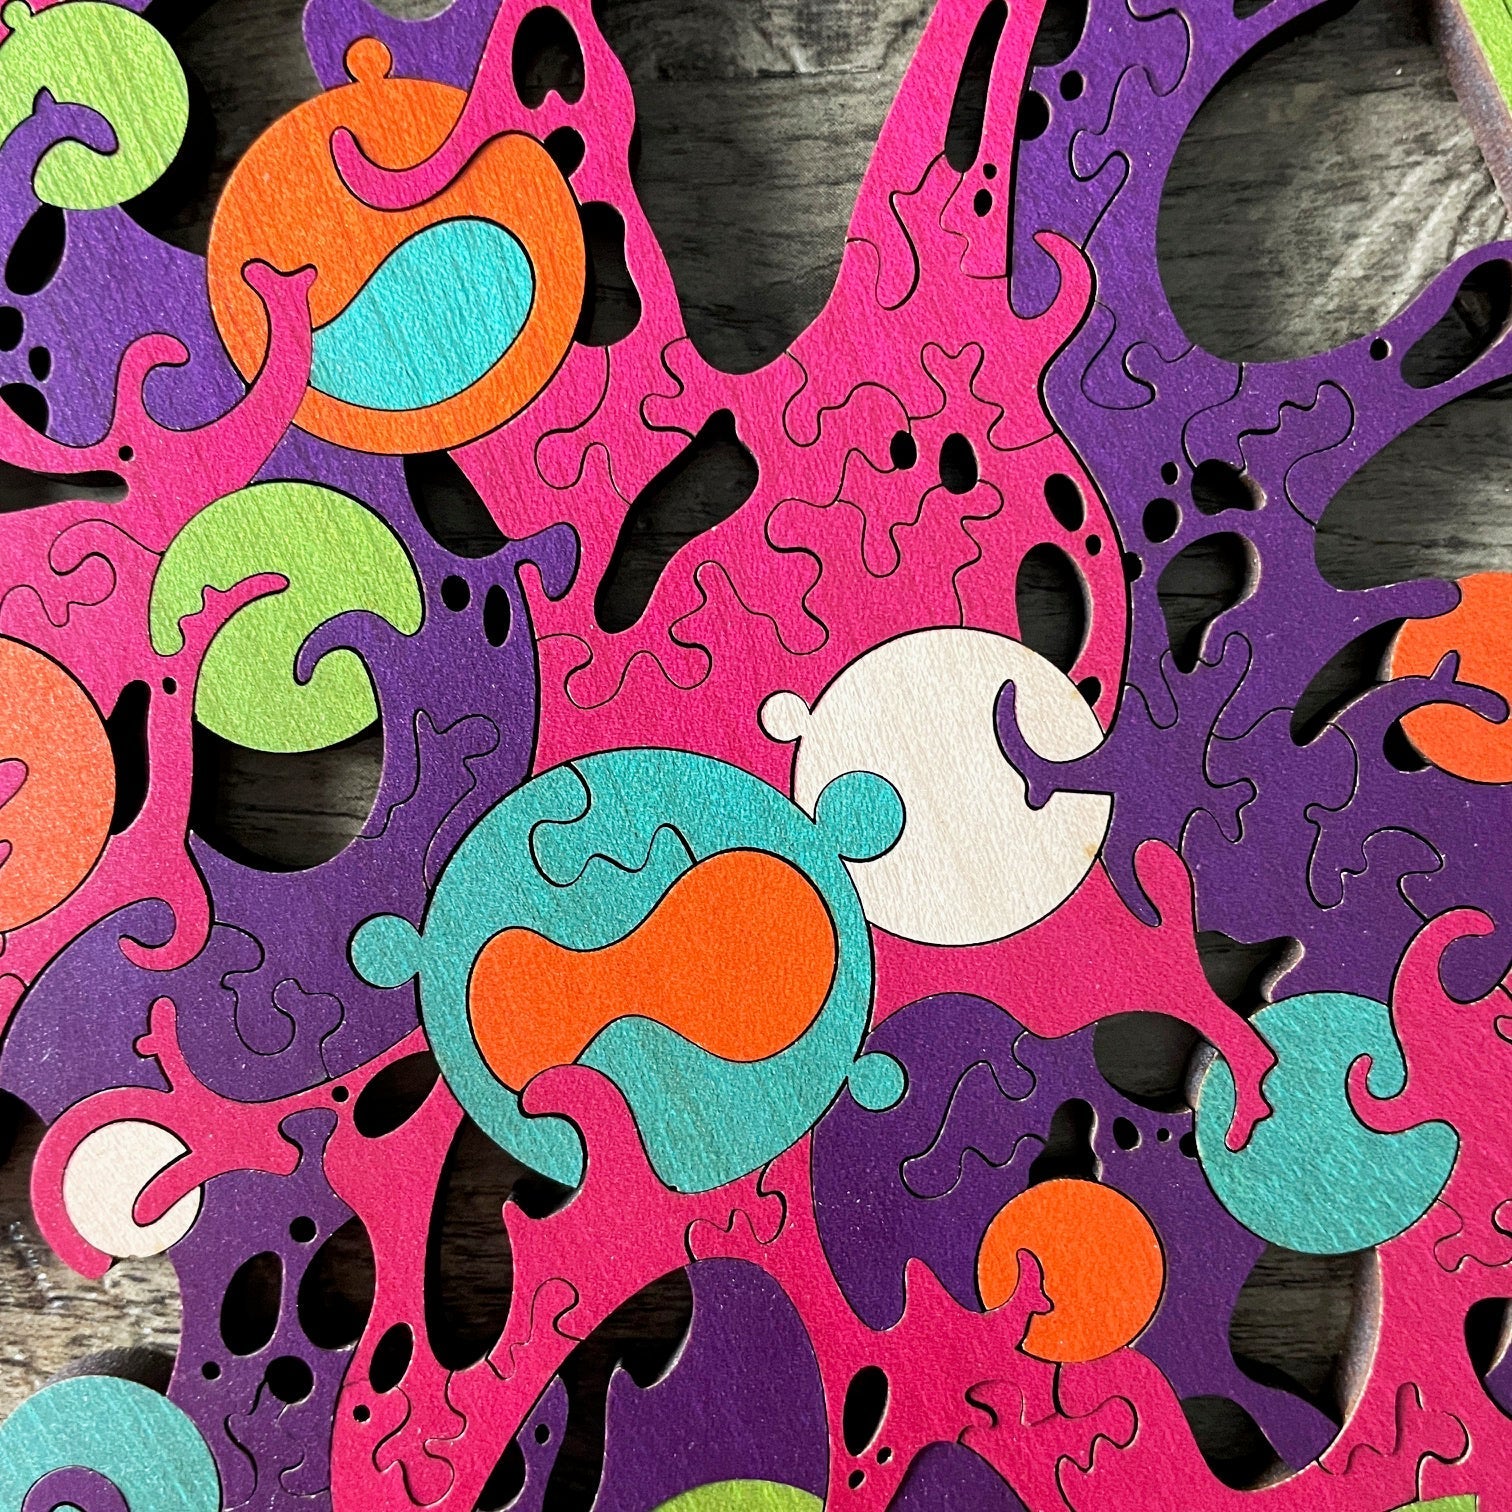
Note: As of the time of this writing, this puzzle is currently available on Gamefound at a $10 discount off the MSRP! So, now's a great time to preorder and save a few bucks:
https://gamefound.com/en/projects/puzzle-bomb/bumfuzzled-summer-2025-collection
Hey Puzzle Friends!
Design inspiration comes from all kinds of places, including frustration apparently! As an out of the box thinker, one pet peeve of mine is the inability to think outside the box. While doing some in-person shows for Puzzle Bomb last year, I was surprised at how many folks were flummoxed on how you'd assemble a puzzle that doesn't have a clear outer edge.
I suppose this is a bit like how folks think they know how to play Monopoly, whereas almost no one actually knows how to play according to the rules. They were taught something, and have always just done it that way. The same happens with puzzling. Almost everyone starts with the edges, even in cases where an optimal strategy may be to start elsewhere, such as a pocket of color or texture. Our preconceived notions sometimes override our ability to think critically.
Anyways, perhaps a bit out of frustration, I set out to design a puzzle that would be pretty darn tough to solve if you don't start with the edge. :D
The Main Idea
I knew the interior of this puzzle would have to be something both:
1) Difficult to solve.
2) Needing the outer frame to hold together well.
Lots of voids is generally a good approach for this, and I had an idea in the back of my mind for a stretchy, gooey looking design (maybe having kiddos that play with slime helped with this!), so I set off on some preliminary sketching. This is what popped out:
Somewhere in my sketching, I decided to add lots of orbs. The design was pretty boring and monotonous without them, and I knew they'd also offer the opportunity for fun pops of color amongst the gooey backdrop.
What a Mess!
One thing you'll notice in this black and white scan is that the design is extremely difficult to decipher without color! There's actually two "layers" of goo here, one stretched above the other. This is one of the few designs I sketched out with colored pencil, as I was having a real bear of a time keeping track of the design when simply using my trusty bic click pencils!
So What About That Outer Edge?
For a puzzle that's suppose to feature an outer edge, this sketch was rather edgeless. :D At this point, I hadn't decided on what I wanted the edge to look like, so I just went nuts with the goo, figuring I'd sort out the frame later, configuring it to fit the work I'd done so far. A lot of my designs are this way! I often don't know what exactly I'm going to make until I start sketching.
So, I sat down with this initial sketch, and added the frame and a ton of other detail!
A couple of things I loved in particular about this result:
1) I thought it was really fun how a couple of the orbs interrupt the frame, becoming part of the frame itself.
2) I loved how the sparse bottom-right corner allowed for a break in that corner of the frame!
This is really part of the fun of designing; I didn't set out to do either of these things, but these happy accidents always make for quirky, fun, and unexpected design outcomes!
Cleaning Up
You might notice the sketch is super dirty. I do a lot of guide lines, erasing, etc along the way, which end up showing on my scans. I do pay someone else to take my final sketch and digitally trace it, as I'm really only passionate about the creative design process, and someone else can do the step of digitally tracing my sketch far faster than I can!
So, I always have a somewhat tedious step of cleaning up my scan in Photoshop, where I also apply some preliminary color so the design is easier to follow when digitally tracing. It's really a fun step for me, though, as it's the first time I see my designs in color!
This final result is packed with fun little design details and tricky fits (especially the way some of the orbs connect). While it has the outer frame that so many folks were wanting, it's a devious little puzzle on the interior!
I'm super excited how this one turned out, and can't wait for you to explore all the intricacies for yourself!


2 comments
Thank you for sharing your design process. I recently got my first of your puzzles, Party in the Back #1, and loved the surprises in the piece cut (as well as every aspect of the puzzle). Getting a behind the scenes look adds even more enjoyment to experience
Really looking forward to this one.